Manage content items
Easily manage your content items by using some basic features in Prepr.
Introduction
This article shows you how to perform the following core tasks as a content editor:
- Create a content item
- Publish a content item
- Manage versions
- Delete a content item
- Find your content items
Let's look at these basic features in more detail.
Create a content item
To create a content item:
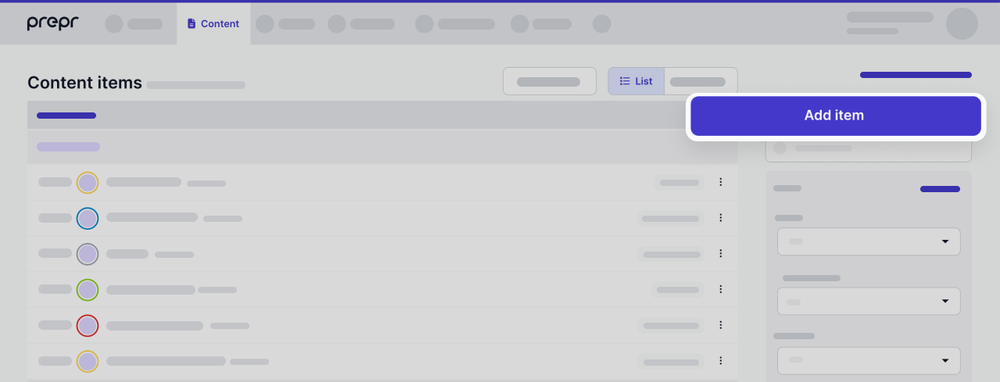
- Go to the Content tab. Here you'll find a list of all content items in your Prepr environment.
- Click Add item. The availability of models depends on the user role and permissions you have.
 3. Select a model.
Now the content item is created and you can start composing your content.
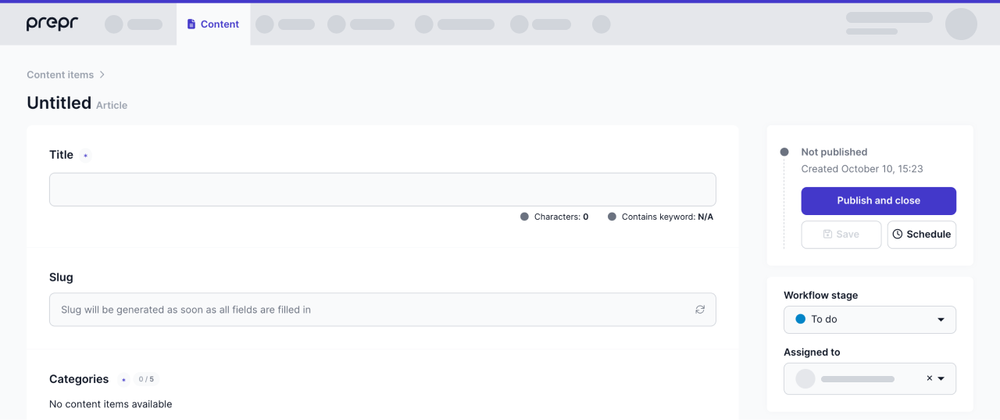
The shown fields depend on the model settings. Each field can be required and can have help text to help you create content for this specific field.
You can also create language variants of your content item. Check out the Localization doc for more details.
Publish a content item
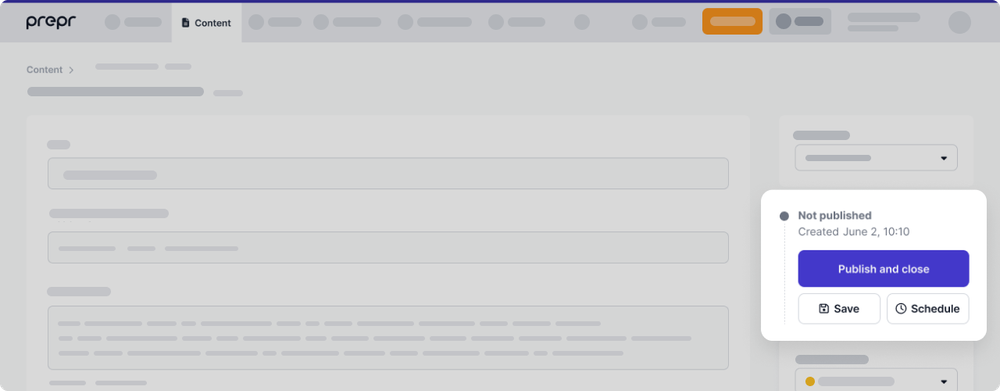
When you are happy with the content item that you created and want it to be used and displayed in the web app, all you need to do is publish the content item. You can publish a content item directly by clicking the Publish and close button.
When you publish the content item directly, the Workflow stage of the content item is automatically changed to Done. Check out the Collaboration and workflows doc for more details on workflow stages. If you want to make changes to a published content item, edit the content item and click the Save button to save the changes without publishing them. This means there'll be two versions; your saved version and the published version. You can then publish the saved version of the content item after making your changes.
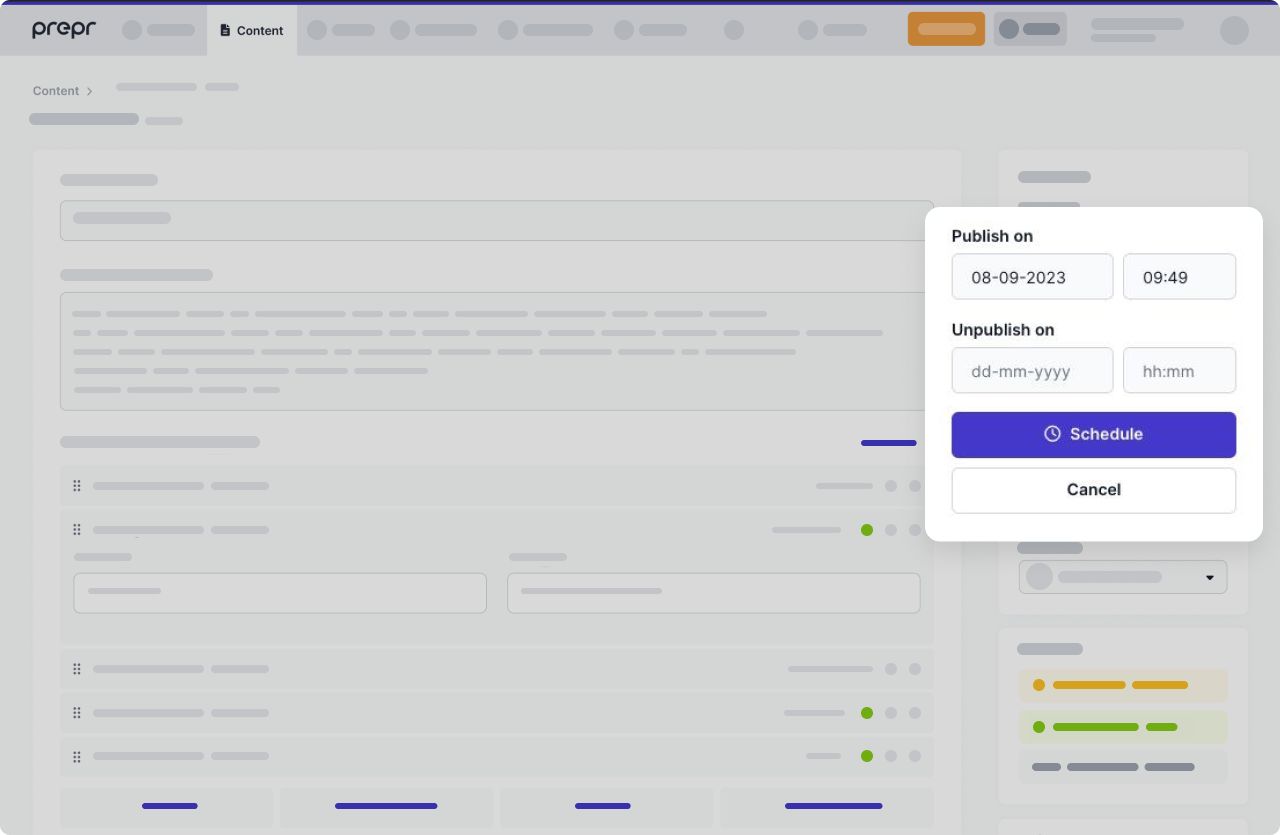
To schedule a content item, click the Schedule button and select the date and time for when you want the content item to be published by the web app. The content item will be marked as Scheduled until the date and time that you selected. You can update the scheduled content item any time before the scheduled date and time without needing to reschedule the content item.
Note
If you schedule a content item, make sure the workflow stage is set to Done if you want it to be published automatically on the Publish on date.
When you choose to schedule a content item, you can also enter the Unpublish on date and time for temporary content. When this date and time is reached the content item will be Archived and no longer available to the web app.
You can see all scheduled content items in the List view and the Kanban view.
- List view: Go to the content item list. In the Filter section on the right, go to Publication status and select a value of Scheduled.
- Kanban view: Above the list of content items, click the icon on the right to open the Kanban view. In the Done column you can find the content items marked as Scheduled.
Preview content items
Prepr offers various options to preview your entered content. This can be useful in case you want to view the content before publishing.
You can preview content items if one or several review URLs have been set on the model. Learn more about how to manage review URLs.
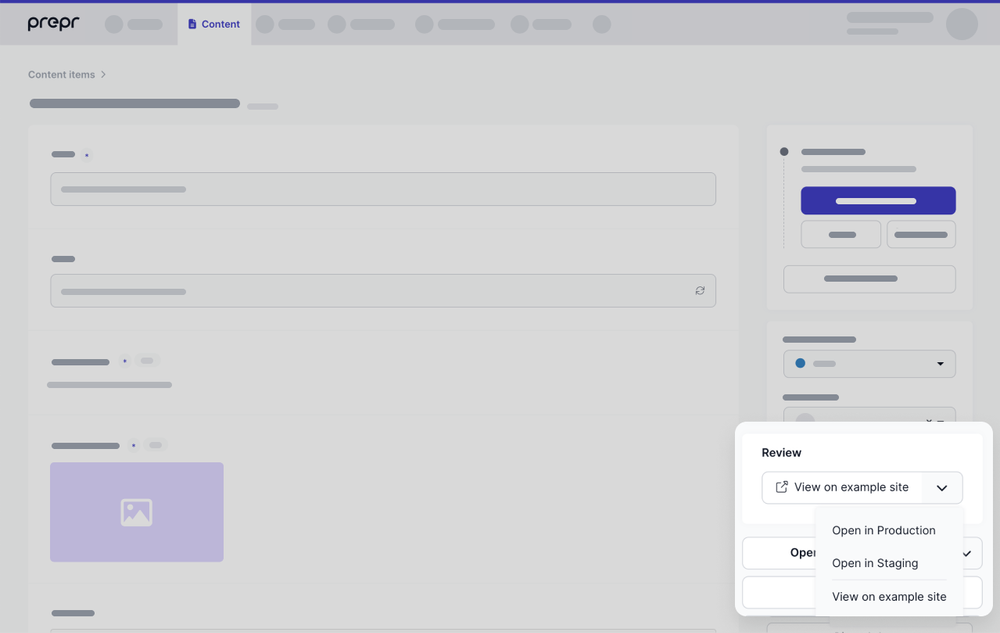
- Scroll to the review section in the sidebar. The first added review URL is shown as default.
- Click the name of the review (in the below example, it's called Open in Production) to open the content item in a new tab.
- Click the dropdown to choose from one of the other added review URLs.
If you do not yet have your own front end linked to the Prepr API, you can still easily preview your content.
Click the Preview button in the content item sidebar. An overlay appears with a clear overview of your content. The preview only contains fields that have been selected in the model as Show in preview. Check out model field settings for more details.
Note
From April 24th, 2023, the Preview button is no longer available for new Prepr accounts created after this date. To preview your content before publishing, please set up a review URL on a model. Learn more

Manage versions
Content item versioning enables you to do the following tasks:
- Reset your last content item edits.
- Keep track of all the changes in a content item.
- Revert to a previous version when needed.
- Look for older versions in your content item.
- See every change made in a content item.
You can find content item versions in the sidebar when you edit a content item. Click Earlier versions to see the version history of this content item.
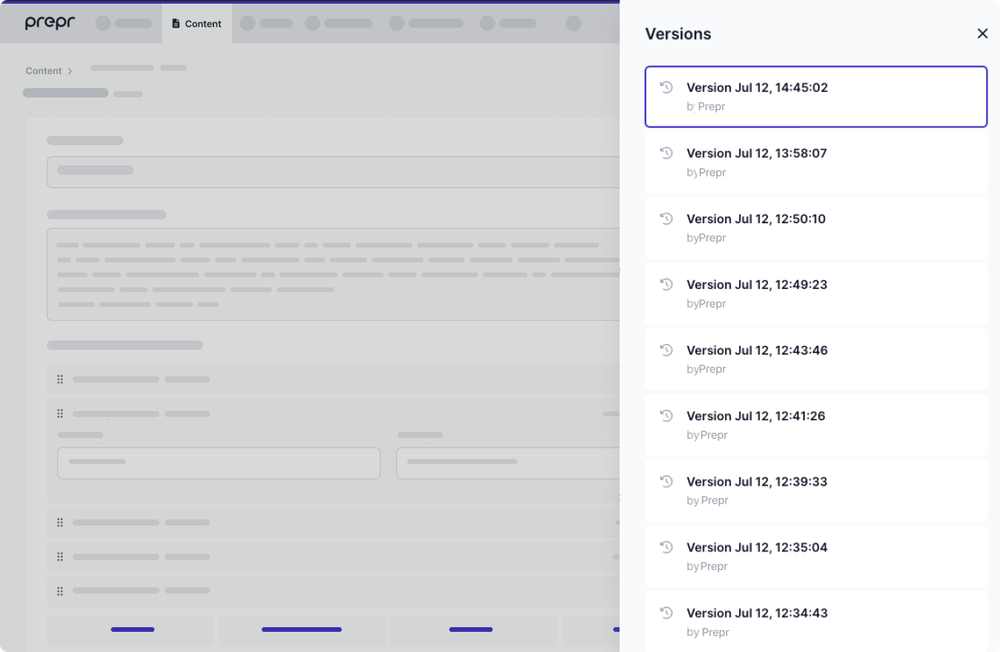
Select one of the versions and click View to open the specific content item version. The yellow notification bar indicates that you are viewing an older content item version.
To restore a previous version, click Restore to open this version for further editing.
All fields and drag-and-drop elements are versioned. There is no version history of the slug and workflow settings. Content item versioning is available per locale.
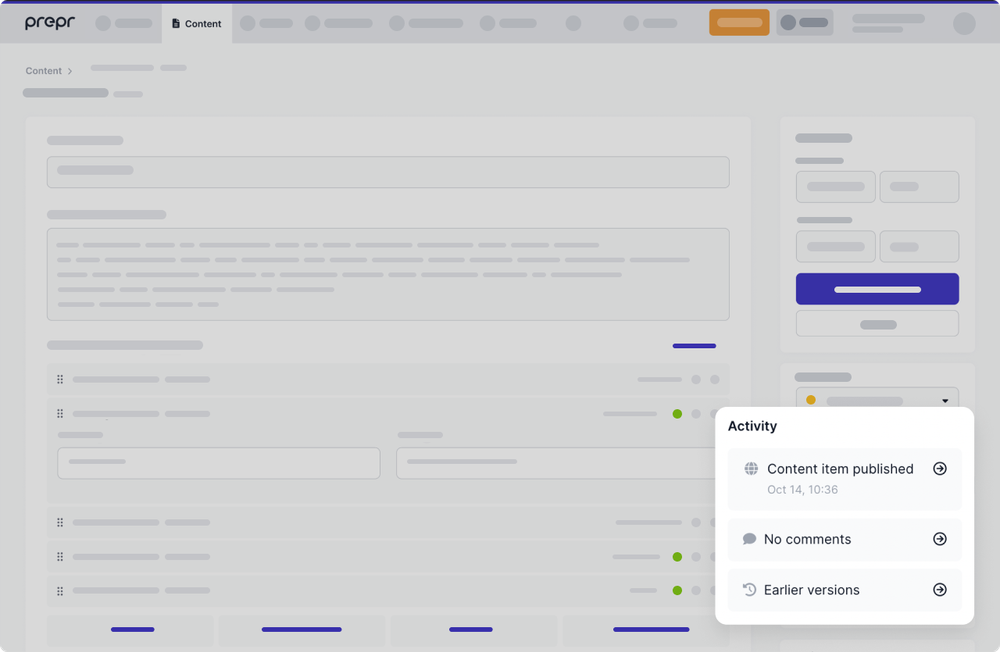
Check the activity log
All actions on a content item are logged by Prepr. You can find the actions made by Prepr users in the activity sidebar. Here you have a clear insight into all publication status and workflow stage changes, assignees, and save actions.
Delete a content item
You can delete a content item as follows:
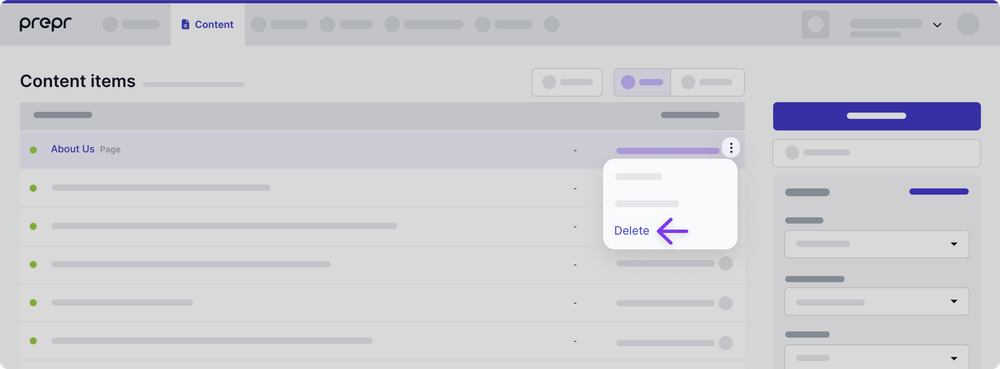
- From the Content items list
- Go to the Content tab.
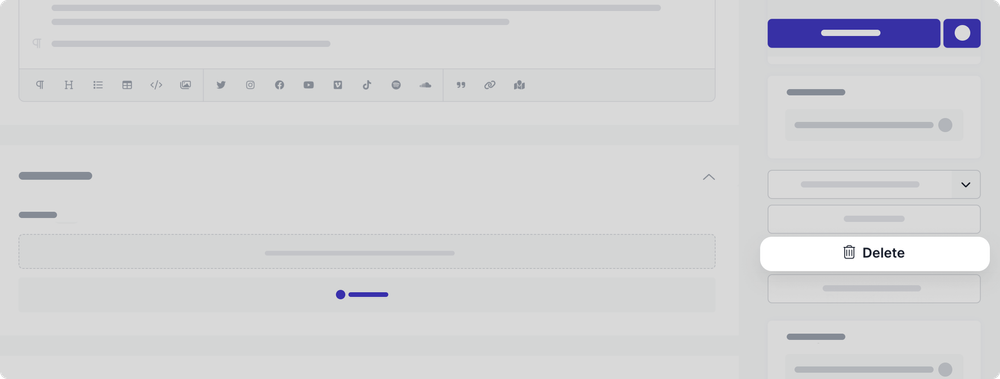
- Go to the content item you want to delete, click and choose Delete.
- In the pop-up window, click Delete again to confirm the action.
- From the Content item page
- Go to the Content tab.
- Click to open a content item you want to delete
- On the Content item page, click the Delete button.
- In the pop-up window, click Delete again to confirm the action.
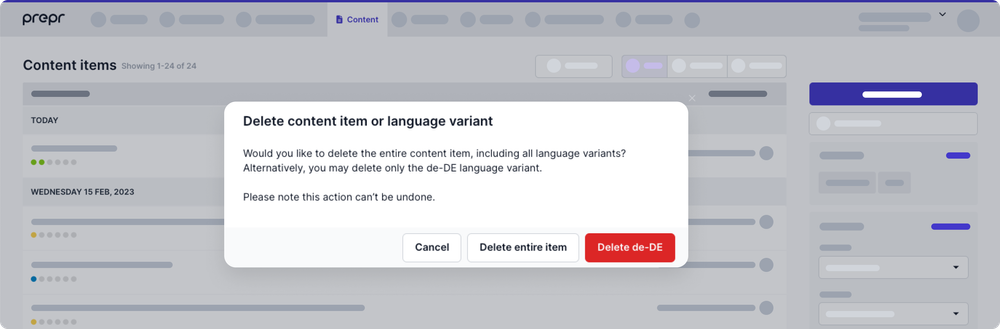
Delete a language variant
If you manage multi-language content, then you also have the option to delete a specific language variant. Click to delete a content item and then choose a preferred option:
It is also possible to delete a language variant using the API. Please refer to the GraphQL API docs for more information.
Find your content items
Filter content items
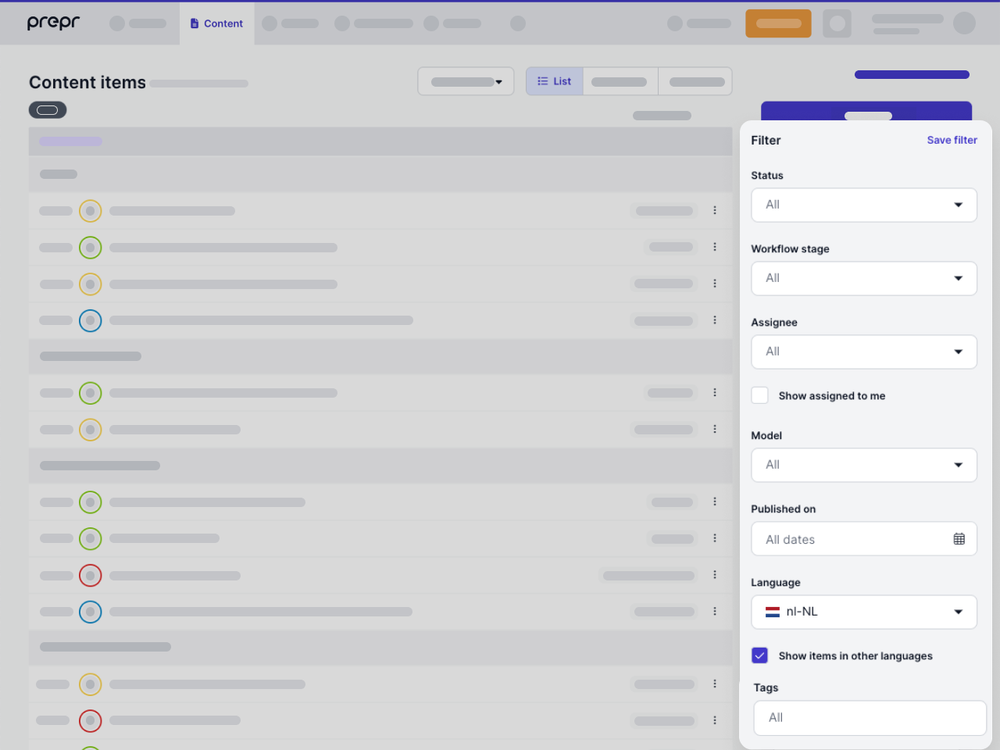
Prepr makes it even easier to filter precisely the content you're looking for with Advanced Content Filters. You can select multiple filters to narrow down your search results effectively.
The content item filters allow you to filter your content by model (for example, All blog posts) and on supporting models (for example, All blog posts by a specific author). You can use the following content item filters in Prepr:
- Status - Let's you filter on Published, Scheduled, or Not Published items.
- Workflow stage - Let's you filter on Done, Review, In progress, To do, or Archived items.
- Assignee
- Model
- Published on date
- Language
- Tags
Publishing filters are retained for a session. So the next time you visit the overview of the content items, the last selected filters will be active. If you often use the same filters in your Prepr environment, you can save your content item filters. Make the filter selection and click on Save filter. Saved filters will be visible to all users of this environment.
Give the filter a name and save it. The quick filter now appears in the list sidebar. To activate the saved filter, click on the filter. The filters are entered and the content item list only contains the filtered content items.
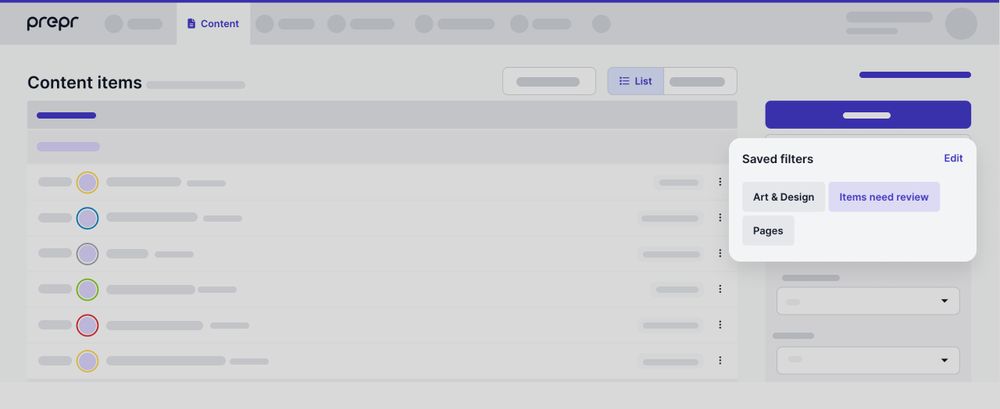
To remove a saved filter, click on Edit, select the filter you want removed and click on the trash can.
Search content items
Type any keyword to search content items within the content item list. All text fields and text elements are indexed and searchable. To narrow down search results, you can search by a content title, slug, or item ID.
When you enter a search query, a drop-down list appears with the following search options:
- Search on title
- Search on slug
- Search on ID
Searching by a title or slug is a fuzzy search, you will get search results when you enter part of the title. When you search by ID, enter the exact ID of the content item you are looking for.